Google Business Profile Integration
With Google's service, you will be able to post updates on your Google Business Profile.
Before you start, make sure you have the following:
- A Google account
- A project in Google Console
1. Enable API services
The Google My Business API is only visible in the Google Cloud Console to users who submit and receive approval for their Google Account through the access request form. For more details, see Request access to the APIs. Approval can take a few days, up to a week.
- Go to the Google Cloud Console and select your project.
- Click Enable APIs and Services at the top of the dashboard.
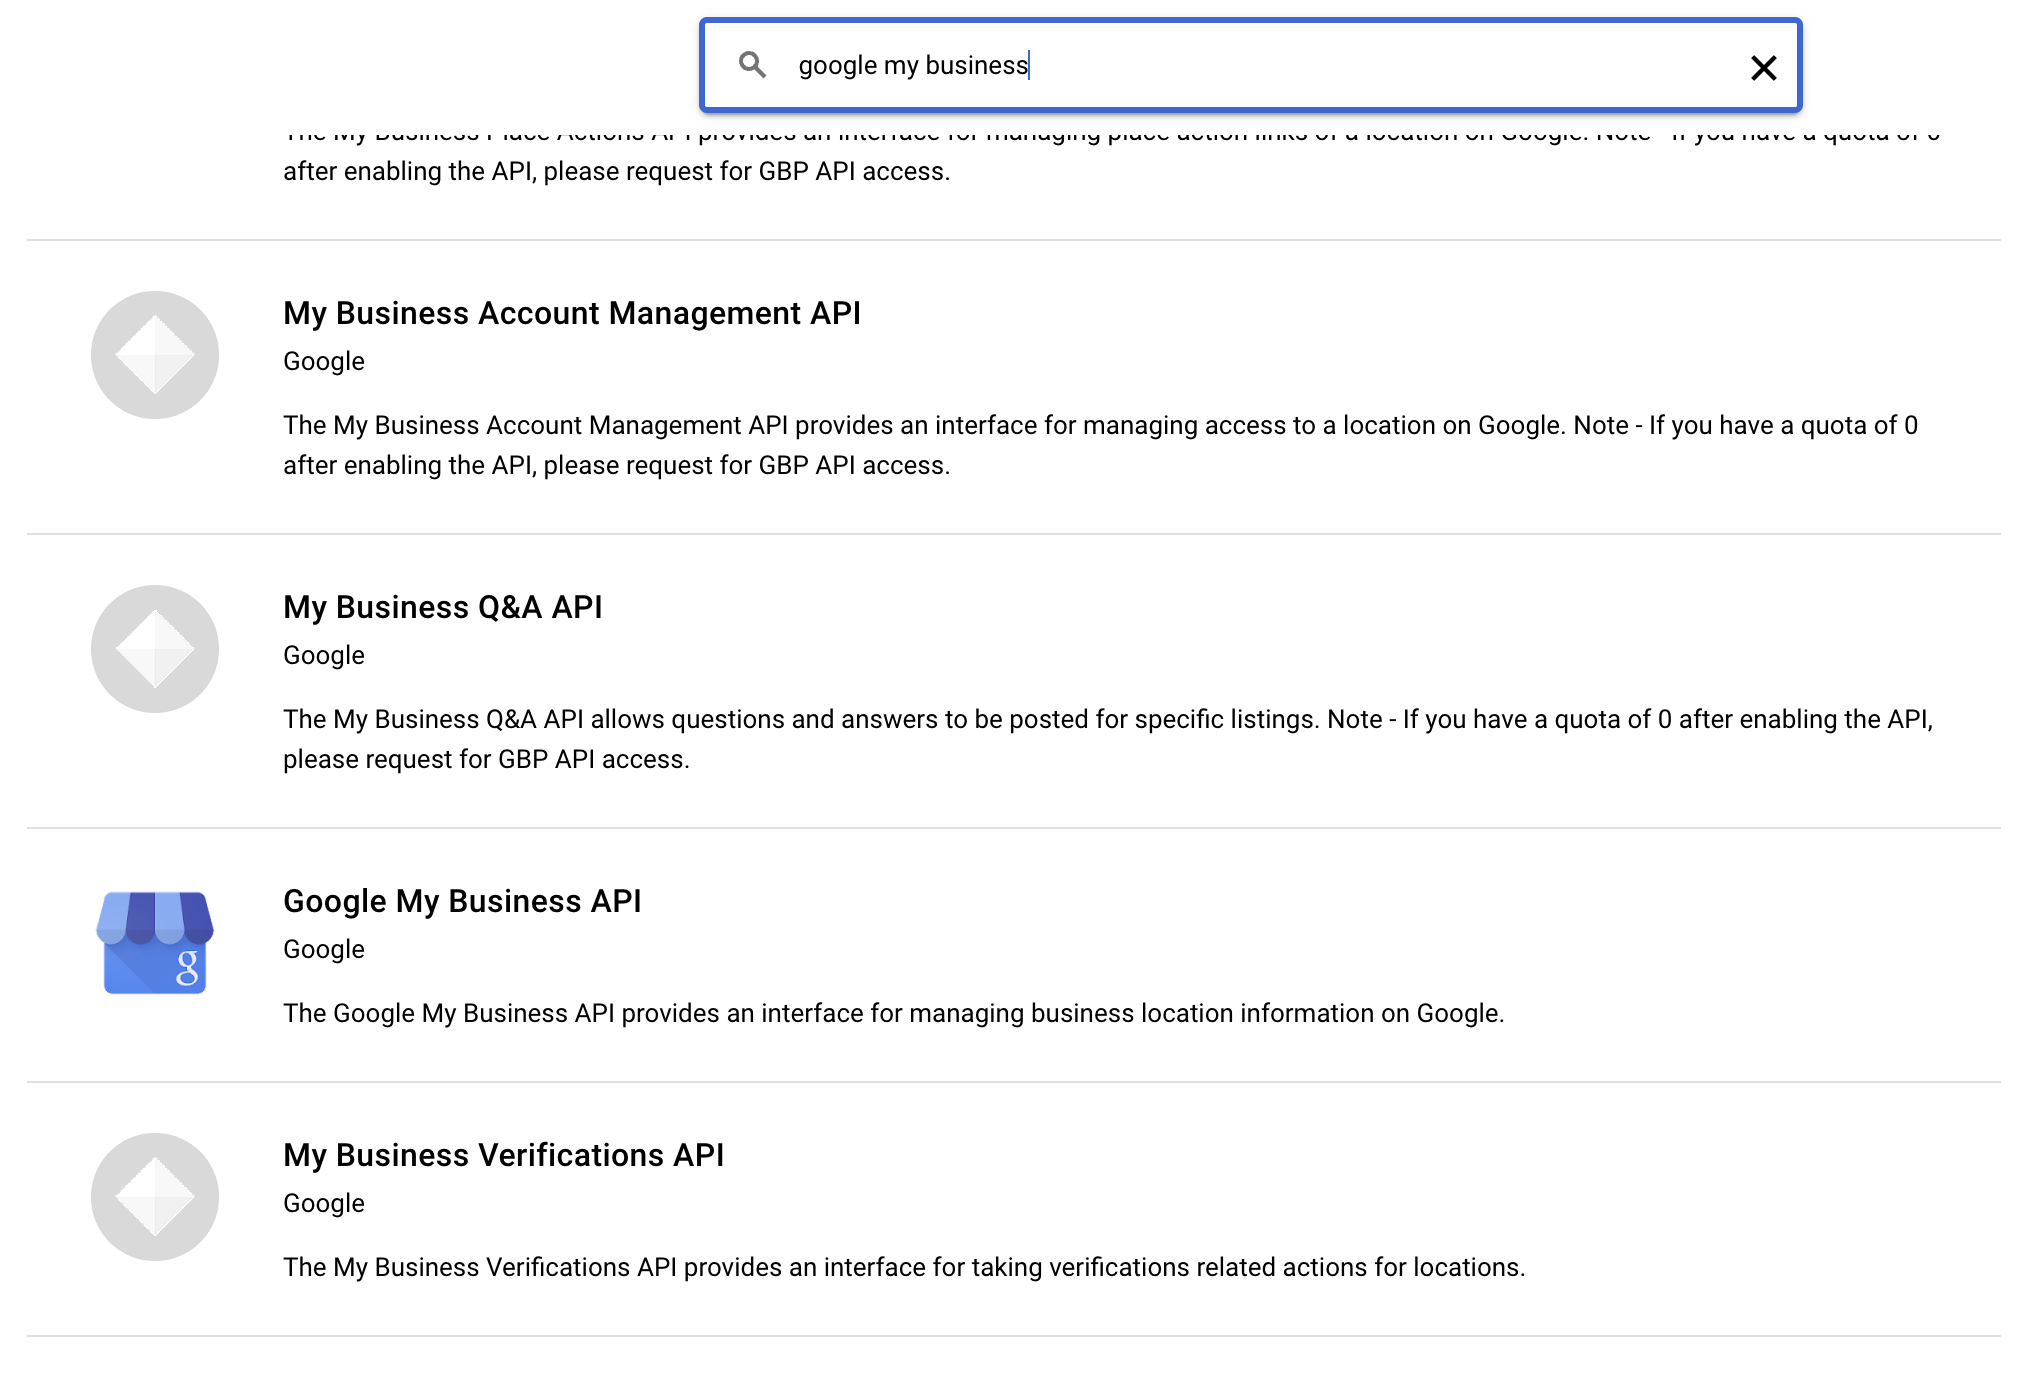
- Search for and enable each of the following APIs:
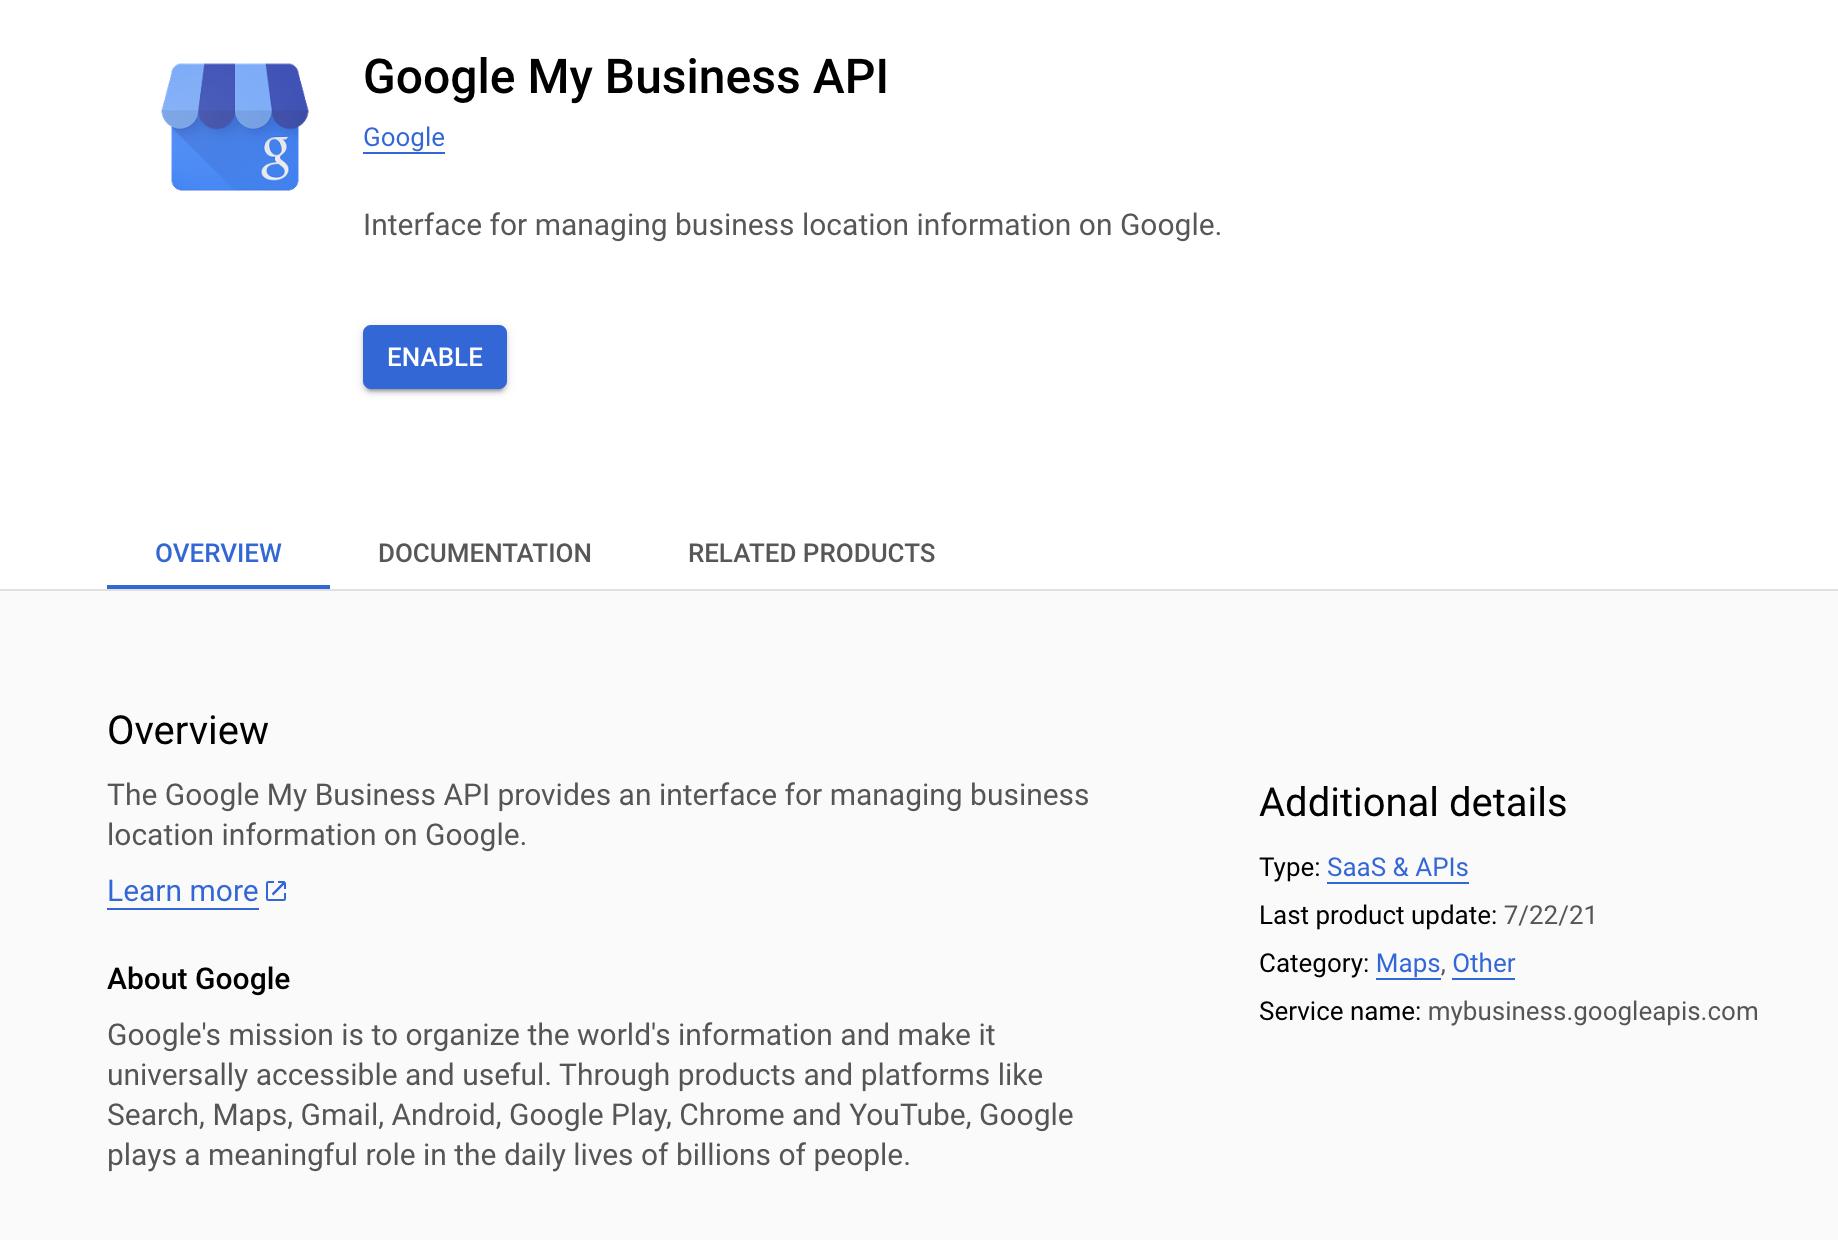
Google My Business API- It will appear in the search results once your access has been approved.My Business Account Management APIMy Business Business Information APIBusiness Profile Performance API
- For each API, click the Enable button on the API’s detail page.
Screenshots:
2. Create/Edit the credentials
You can use the same Credential (OAuth 2.0 Client ID) for both YouTube and Google Business Profile integrations. Just ensure all necessary redirect URIs are included.
- Navigate to the Credentials tab and click on the Create credentials button.
- Choose OAuth client ID from the dropdown menu.
- If prompted, set up the OAuth consent screen by going to the OAuth consent screen tab and completing the setup before continuing to add the OAuth client ID.
- For Application Type, select Web application.
- Enter a name for your application.
- Add an Authorized redirect URIs
https://example.com/<MIXPOST_CORE_PATH>/callback/gbp
<MIXPOST_CORE_PATH> with your own value<MIXPOST_CORE_PATH> is a placeholder for the MIXPOST_CORE_PATH environment variable — the path prefix Mixpost is served under.
- Set to a prefix, for example
mixpost— use that value:https://example.com/mixpost/... - Empty — Mixpost is served from the root of your domain, so remove the placeholder and the slash that follows it:
https://example.com/...
MIXPOST_CORE_PATH is empty by default in Pro v7+ and Enterprise v8+. In earlier versions, and in Lite, it defaults to mixpost.
Callback URLs — callback/..., inbox-webhook/..., uninstall-callback/... and, in Enterprise, payment-webhook — can carry a different prefix from the rest of your instance, because they follow MIXPOST_CALLBACK_PATH whenever that variable is set. For the OAuth Redirect URI you do not have to assemble it at all: the provider's service form in the Mixpost dashboard shows the exact URL, ready to copy.
- Click on the Create button.
3. Copy the credentials to Mixpost
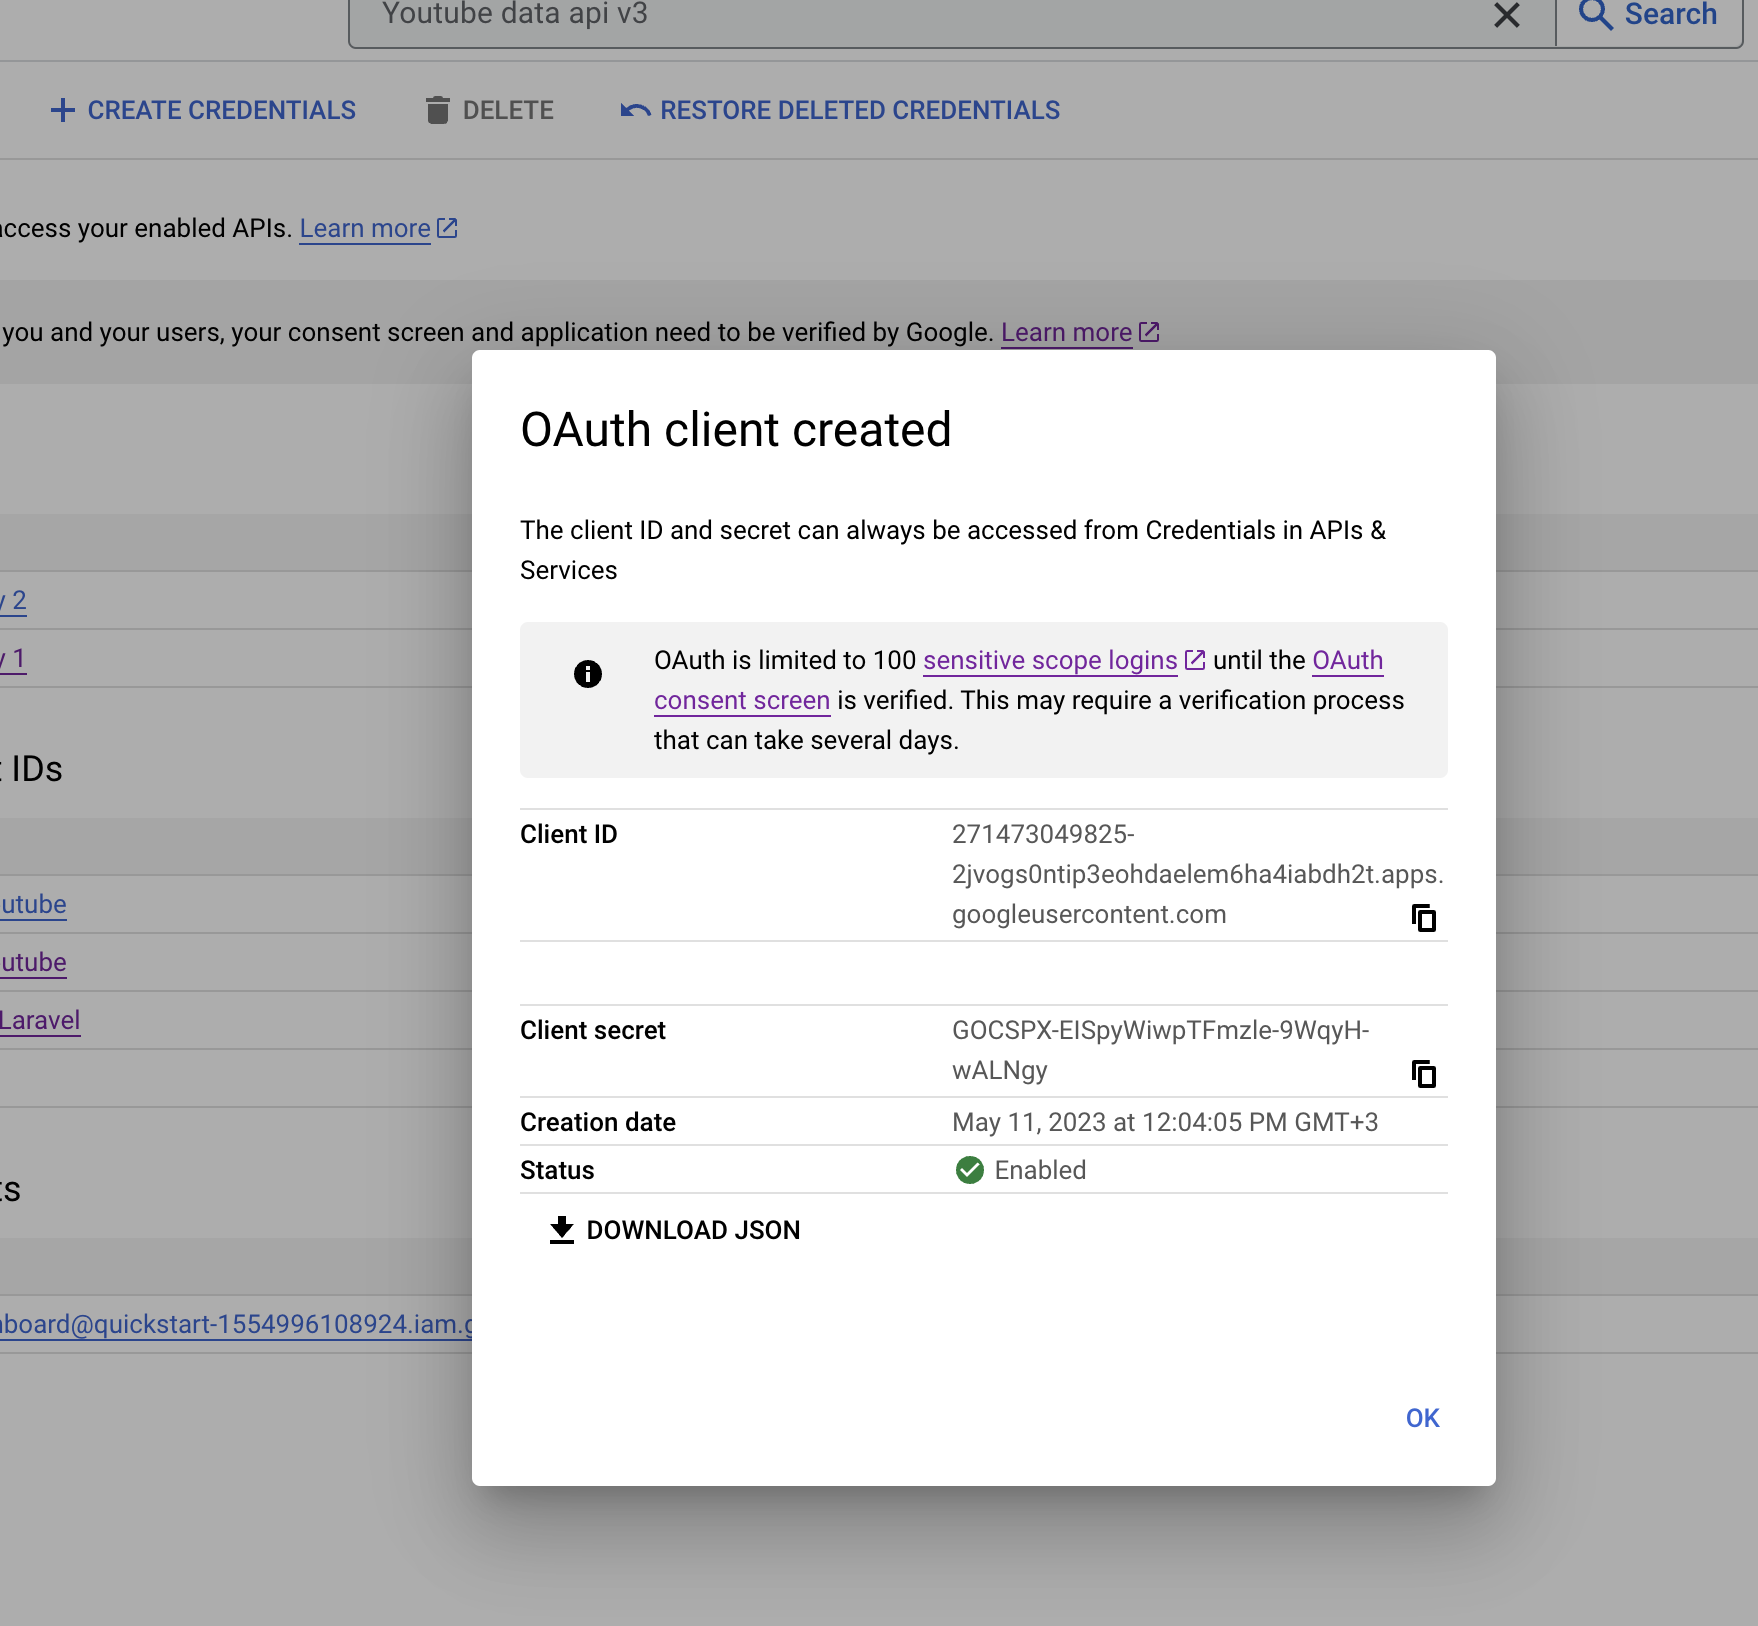
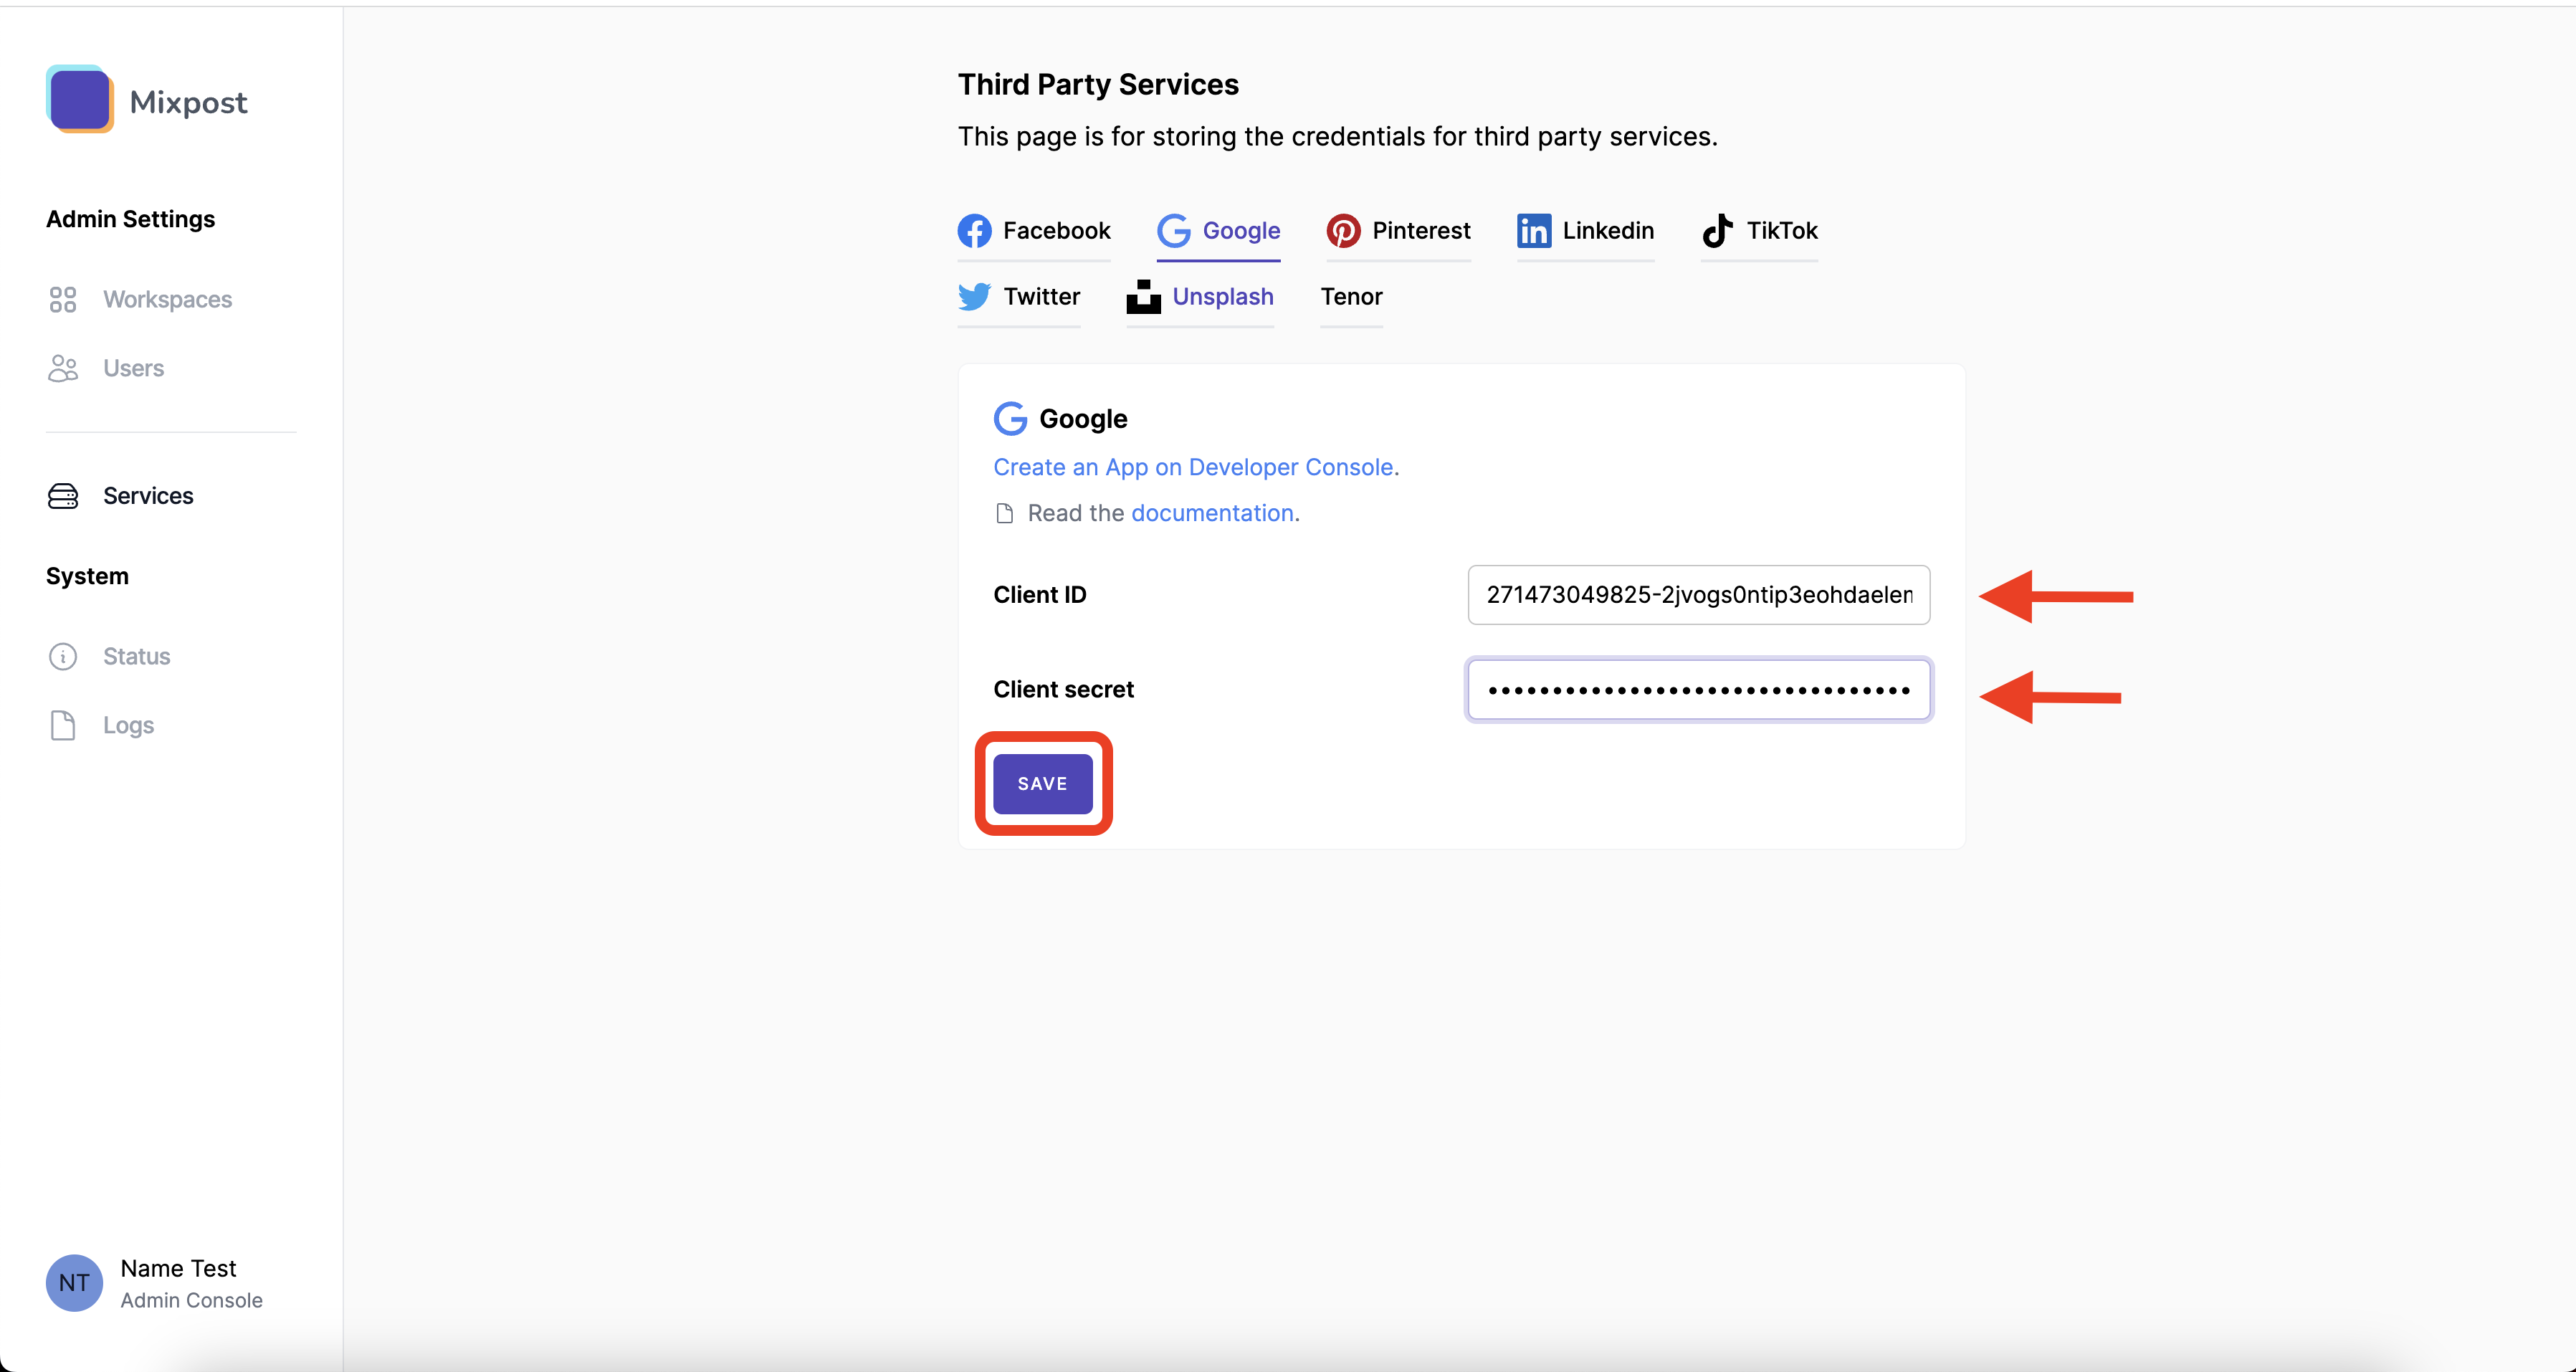
After creating the credentials, you will find the Client ID and Client Secret. Copy these credentials, then navigate to your Mixpost dashboard and paste them into the Google third-party service form.
- Pro and Enterprise
- Lite
Navigate to the User Menu at the bottom left, click Admin Console, and then click on Services from the left sidebar.
Click on Services from the left sidebar.
Screenshots:
4. Done
You’ve successfully created and configured your Google App for use with Mixpost. You can now add a YouTube or Google Business Profile (GBP) account and start scheduling posts.
- Pro and Enterprise
- Lite
Navigate to a workspace, then select Social Accounts from the left sidebar and click Add Account.
Lite package does not support this social platform. Unlock Pro features
Learn about usage limits and quotas for the Google Business Profile API in the Google documentation. If you plan to increase your usage, you may need to request a quota increase through the Google Cloud Console.